Starting Ecommerce App Development with Flutter
24 July
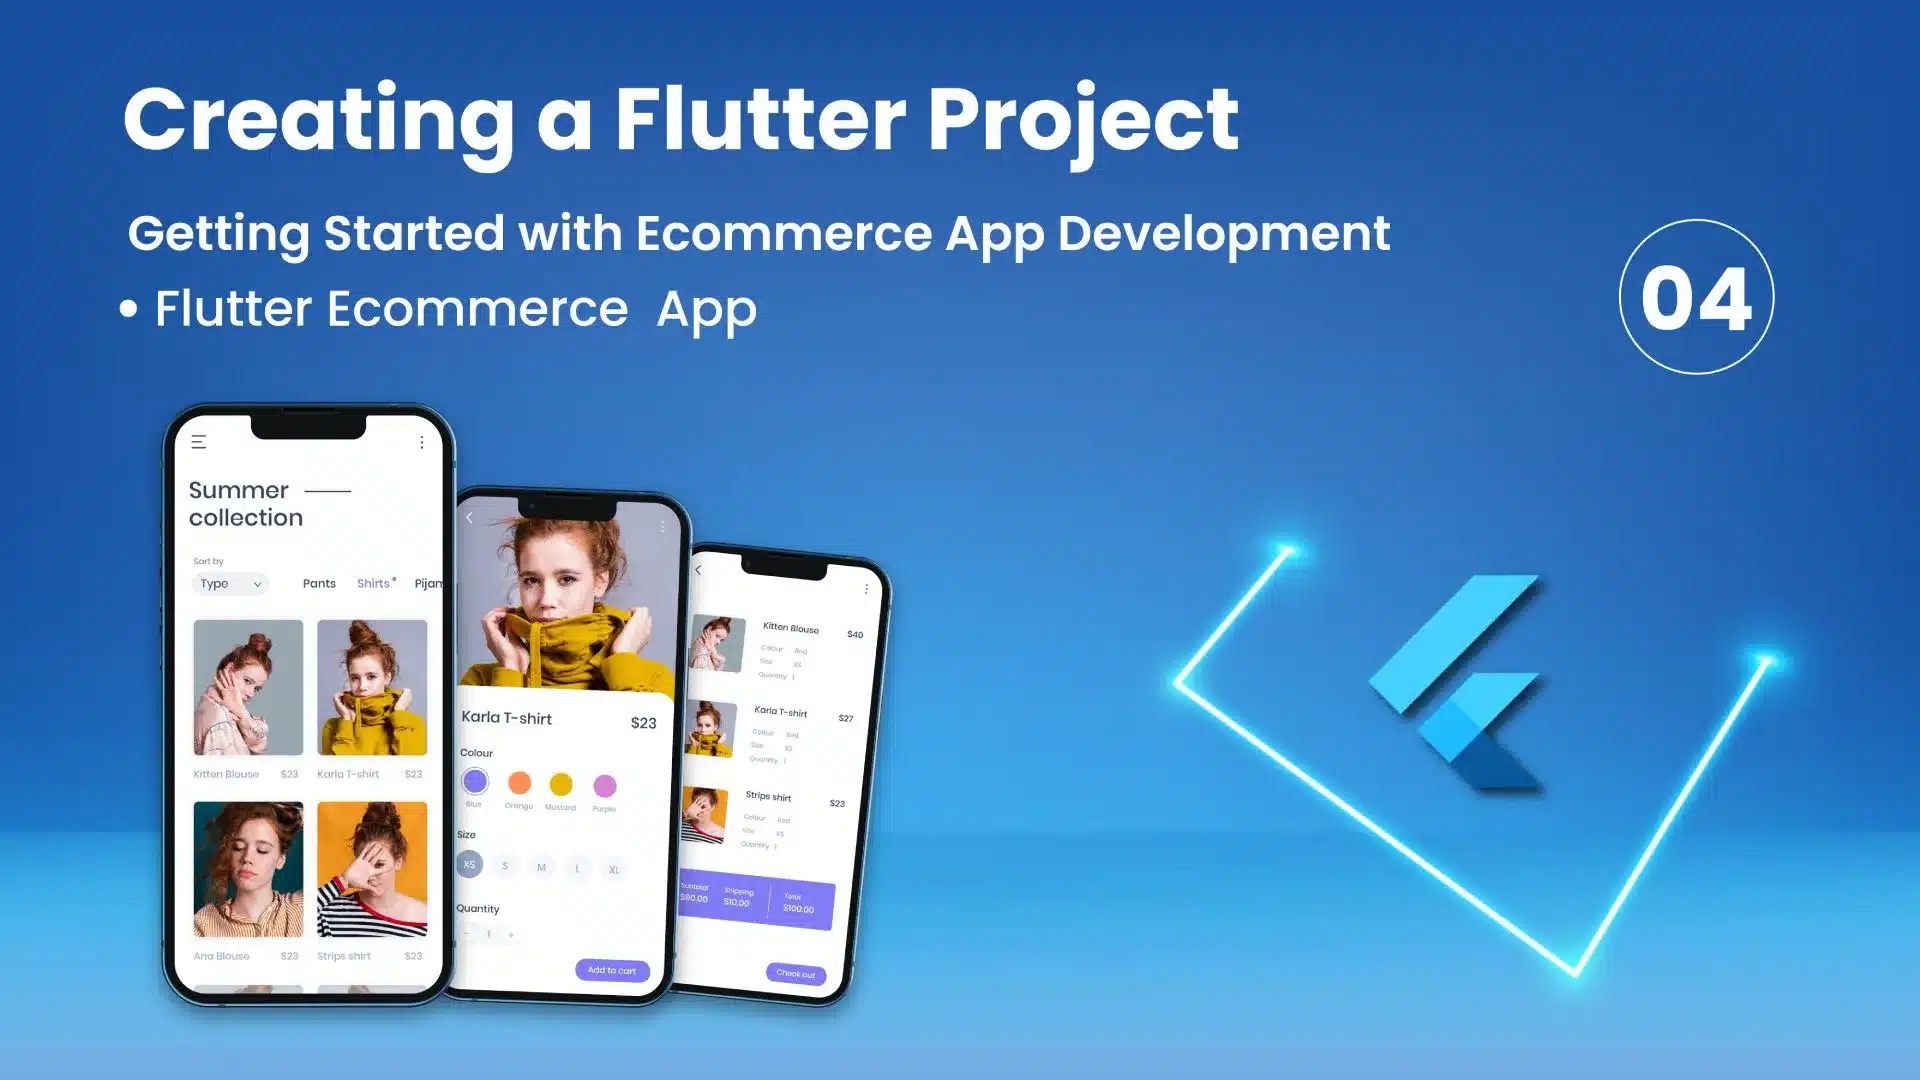
Welcome back to our Flutter Ecommerce App series! In this blog post, we’ll walk you through the process of creating a Flutter project and getting started with the development of your ecommerce app. By the end of this guide, you’ll have a basic project structure in place, ready to build upon.
Prerequisites
Before we begin, make sure you have Flutter and Dart installed on your system. If you haven’t installed them yet, follow the official Flutter installation guide for your operating system:
Creating a New Flutter Project
To create a new Flutter project, follow these steps:
- Open your preferred terminal or command prompt.
- Create a new Flutter project using the following command:
flutter create flutter_ecommerce_app
Replace “flutter_ecommerce_app” with the desired name for your project.
- Change directory to the newly created project:
cd flutter_ecommerce_app
Understanding the Project Structure
Let’s take a look at the structure of the Flutter project:
– `lib` directory: This directory contains the main source code of your Flutter app.
– `main.dart`: The entry point of your Flutter app. This is where the app starts executing.
– `screens` directory: This directory will hold the different screens or pages of your app.
– `widgets` directory: This directory will hold reusable UI components/widgets used across multiple screens.
– `test` directory: This directory contains test files for your app.
– `android` directory: This directory contains the Android-specific configuration files and code.
– `ios` directory: This directory contains the iOS-specific configuration files and code.
You can further customize the project structure to suit your specific needs as the app evolves.
Running the Flutter App
To test your Flutter app on a connected device or emulator, run the following command:
flutter run
This command builds the app and launches it on the connected device or emulator. Make sure you have a device connected or an emulator running before executing the command.
Congratulations! You’ve successfully created a new Flutter project and set up the basic structure for your ecommerce app. You can now start implementing the different features and screens of your app.
In the upcoming blog posts, we’ll dive deeper into designing the user interface, implementing authentication and user registration, fetching product data, and more.

Conclusion
Creating a new Flutter project is the first step towards building your ecommerce app. In this blog post, we learned how to set up a Flutter project and explored the basic project structure. Now you’re ready to start developing your app and bringing your ecommerce vision to life.
In the next blog post, we’ll focus on designing the user interface (UI) for the Flutter Ecommerce App. Stay tuned as we delve into creating visually appealing and user-friendly screens for your app.
If you have any questions or run into any issues during the project setup, feel free to reach out.
Happy coding!
Click Here For More Related Blogs!