Designing the Product Details Page for the Flutter Ecommerce App
31 July
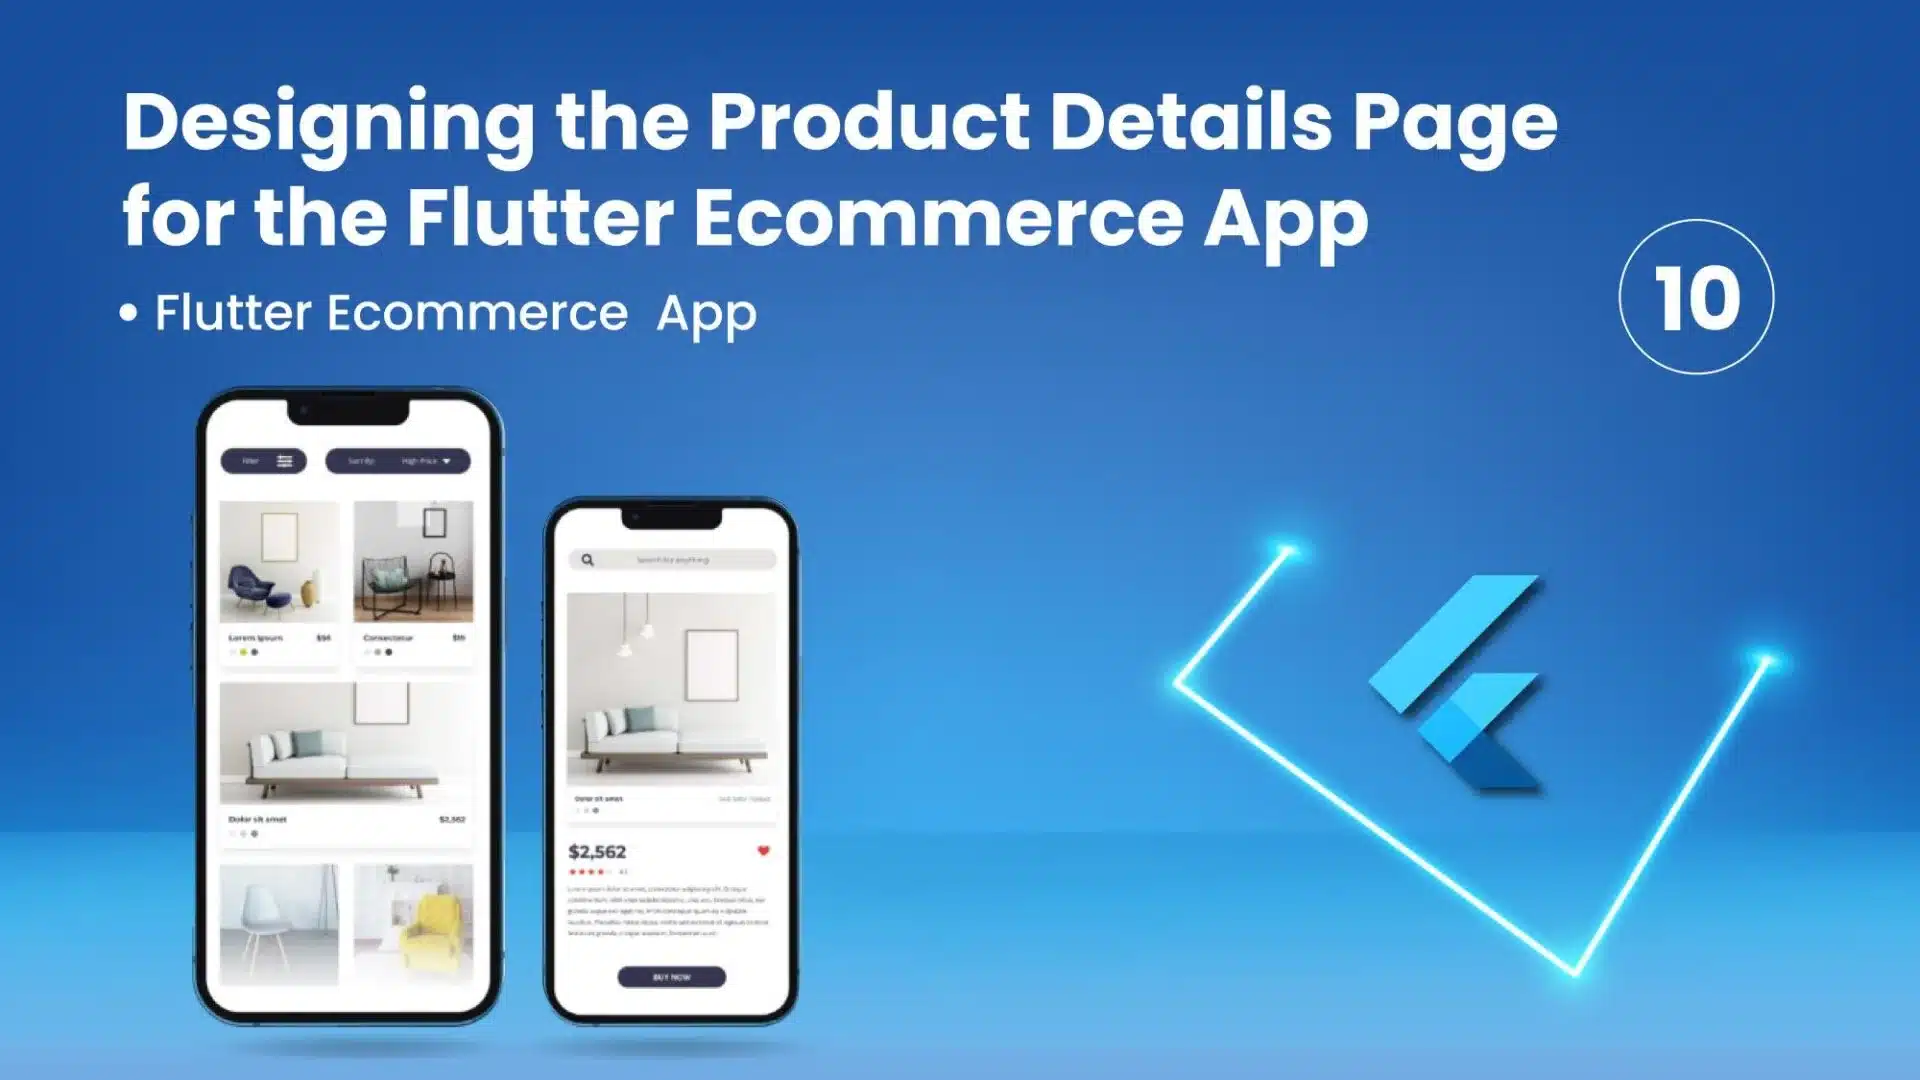
In this section, we will delve into designing the product details page for our Flutter ecommerce app. The product details page is a crucial component of the app, providing comprehensive information about a specific product. Our objective is to create an immersive and informative product details page that entices users to make informed purchasing decisions. We will focus on presenting product images, descriptions, pricing, customer reviews, and related products in an engaging and user-friendly manner. By utilizing Flutter’s widget system and intuitive UI elements, we’ll build an interactive, visually appealing product page for an improved user experience. Join us as we explore the design principles and techniques to create a captivating product details page for our ecommerce app.
import 'package:clickmart/view/profile/profile_btn.dart';
import 'package:flutter/material.dart';

class ProductDetailsPage extends StatelessWidget {
  final String imageUrl;
  const ProductDetailsPage({super.key, required this.imageUrl});

  @override
  Widget build(BuildContext context) {
    return Scaffold(
      appBar: AppBar(
        title: const Text('Product Details'),
        actions: const [
          ProfileBtn(),
        ],
      ),
      floatingActionButton: FloatingActionButton.extended(
        onPressed: () {
          // Add your onPressed code here!
        },
        label: const Text('Add to Cart'),
        icon: const Icon(Icons.shopping_cart),
      ),
      body: ListView(
        children: [
          // Product image
          Image.network(
            imageUrl,
            height: MediaQuery.of(context).size.height / 1.8,
            fit: BoxFit.fill,
          ),

          // Product title
          const Padding(
            padding: EdgeInsets.symmetric(horizontal: 8.0, vertical: 10.0),
            child: Text(
              'Digital Print Poly Cotton Goa Style Tropical Wear Mens Shirt, Half Sleeves, Magic Cotton',
              style: TextStyle(fontWeight: FontWeight.bold, fontSize: 18.0),
            ),
          ),

          // Product description
          const Padding(
            padding: EdgeInsets.symmetric(horizontal: 8.0),
            child: Text(
                'Lorem ipsum dolor sit amet, consectetur adipiscing elit. Nulla eget risus lacus. Curabitur a turpis eros. Cras congue dui nec magna aliquet, quis vehicula libero egestas. Nullam at sollicitudin sem. Sed a augue dictum, tempor mi quis, feugiat neque. Aliquam egestas lectus orci, et rhoncus augue suscipit quis. Ut quis porta magna.'),
          ),

          // Product price
          const Padding(
            padding: EdgeInsets.all(16.0),
            child: Text(
              '\$100',
              style: TextStyle(fontSize: 18.0, fontWeight: FontWeight.w500),
            ),
          ),
          const SizedBox(
            height: 30.0,
          ),
        ],
      ),
    );
  }
}
Designing the User Profile Page for the Flutter Ecommerce App
In this section, we will shift our focus to designing the user profile page for our Flutter ecommerce app. The user profile page offers account management, order history, personal details update, and access to various settings for users. We aim to craft a visually appealing, user-friendly profile page that enhances personalization, ensuring a seamless user experience. We will design sections for displaying user information, order history, saved addresses, and payment methods. Additionally, we may include options for users to edit their profile, change preferences, and manage account settings. By leveraging Flutter’s widget system and adhering to best practices in UI design, we will create an intuitive and interactive user profile page that empowers users to personalize their ecommerce experience. Join us as we embark on designing the user profile page to offer a seamless and engaging user management feature in our ecommerce app.
import 'package:clickmart/view/authentication/sign_in.dart';
import 'package:flutter/material.dart';

class ProfilePage extends StatelessWidget {
  const ProfilePage({super.key});

  @override
  Widget build(BuildContext context) {
    return Scaffold(
      appBar: AppBar(
        title: const Text('Profile'),
      ),
      body: ListView(
        children: [
          // Profile image
          const CircleAvatar(
            radius: 60.0,
            backgroundImage: NetworkImage(
                'https://wisehealthynwealthy.com/wp-content/uploads/2022/01/CreativecaptionsforFacebookprofilepictures.jpg'),
          ),

          // Profile name
          const Align(
            alignment: Alignment.center,
            child: Padding(
              padding: EdgeInsets.symmetric(horizontal: 16.0, vertical: 18.0),
              child: Text('John Doe'),
            ),
          ),

          // Profile email
          const Align(
            alignment: Alignment.center,
            child: Padding(
              padding: EdgeInsets.symmetric(horizontal: 16.0, vertical: 0.0),
              child: Text('johndoe@example.com'),
            ),
          ),

          // Profile bio
          const Align(
            alignment: Alignment.center,
            child: Padding(
              padding: EdgeInsets.symmetric(horizontal: 16.0, vertical: 10.0),
              child: Text(
                  'Lorem ipsum dolor sit amet, consectetur adipiscing elit.'),
            ),
          ),

          const Divider(),

          // Service
          ListTile(
            title: const Text('Order history'),
            onTap: () {
              // Go to order history page
            },
            trailing: const Icon(Icons.arrow_forward_ios),
          ),
          ListTile(
            title: const Text('Saved addresses'),
            onTap: () {
              // Go to saved addresses page
            },
            trailing: const Icon(Icons.arrow_forward_ios),
          ),
          ListTile(
            title: const Text('Payment methods'),
            onTap: () {
              // Go to payment methods page
            },
            trailing: const Icon(Icons.arrow_forward_ios),
          ),
          ListTile(
            title: const Text('Settings'),
            onTap: () {
              // Go to settings page
            },
            trailing: const Icon(Icons.arrow_forward_ios),
          ),

          const Divider(),

          // Profile settings
          Padding(
            padding: const EdgeInsets.all(16.0),
            child: Row(
              children: [
                // Edit profile button
                Expanded(
                  child: ElevatedButton(
                    child: const Text('Edit Profile'),
                    onPressed: () {
                      // Handle the button press here.
                    },
                  ),
                ),
                const SizedBox(
                  width: 10.0,
                ),
                // Logout button
                Expanded(
                  child: ElevatedButton(
                    child: const Text('Logout'),
                    onPressed: () => _navigateToSignIn(context: context),
                  ),
                ),
              ],
            ),
          ),
        ],
      ),
    );
  }

  // Goto SignIn Page
  void _navigateToSignIn({required BuildContext context}) {
    Navigator.push(
      context,
      MaterialPageRoute(builder: (context) => const SignIn()),
    );
  }
}
Designing the Notification Page for the Flutter Ecommerce App
In this section, we will focus on designing the notification page for our Flutter ecommerce app. Notifications play a crucial role in keeping users informed about important updates, promotions, and events related to their ecommerce activities. Our goal is to design a visually appealing and user-friendly notification page that effectively communicates relevant information to users. We will create sections for displaying notification cards with relevant details such as notifications’ titles, descriptions, timestamps, and actions. Additionally, we may incorporate features like filtering or marking notifications as read/unread. Through Flutter’s widget system and UI best practices, we’ll build an interactive notification page, enhancing user engagement and keeping them informed. Join us to discover design principles and techniques for crafting an efficient notification page in our ecommerce app.
import 'package:flutter/material.dart';

class NotificationPage extends StatefulWidget {
  const NotificationPage({super.key});

  @override
  State<NotificationPage> createState() => _NotificationPageState();
}

class _NotificationPageState extends State<NotificationPage> {
  @override
  Widget build(BuildContext context) {
    return Scaffold(
      appBar: AppBar(
        title: const Text('Notifications'),
      ),
      body: ListView(
        children: [
          // Recent notifications
          ListTile(
            leading: const Icon(Icons.check_circle_outline),
            title: const Text('New order confirmation'),
            subtitle: const Text('Your order for 10 items has been confirmed.'),
            onTap: () {
              // Go to order details page
            },
          ),

          ListTile(
            leading: const Icon(Icons.ac_unit),
            title: const Text('Shipping update'),
            subtitle: const Text('Your order has shipped and is on its way.'),
            onTap: () {
              // Go to shipping details page
            },
          ),

          ListTile(
            leading: const Icon(Icons.shopping_cart),
            title: const Text('Product recommendation'),
            subtitle: const Text('We think you might like this product.'),
            onTap: () {
              // Go to product details page
            },
          ),
        ],
      ),
    );
  }
}
Click Here For More Values!